Universal Account Number (UAN) is the unique number allotted to EPFO members. Multiple EPF accounts are linked to a single UAN. However, there can be instances where an individual has two active UAN numbers. Having two active UANs is against the EPFO rules. Therefore, you will have to merge both of them. This article covers the reasons for two UAN numbers and how to merge two UAN numbers online.
Reason For Two UAN Numbers
Each time an individual changes jobs, the employer creates a new EPF account. As a result, a new UAN number may be allotted. Following are the reasons why two UAN numbers are created:
- Non-disclosure of UAN by the employee: While switching jobs, an employee can miss out on disclosing the previous UAN and EPF account number (member ID). Under such an instance, the new employer opens a new EPF account and generates a new UAN.
- The previous employer does not furnish ‘Date of Exit’: When the previous employer doesn’t mention the date of exit on time, in the Electronic Challan and Return ECR. In case of any delay in furnishing the date of exit, the new employer will allot a new EPF Number and UAN.
Why Should You Merge Two UAN Numbers?
Once you know that you have two UAN numbers, you need to merge both of them. It is illegal in India to have two UAN numbers. You should have one UAN number with all the EPF accounts mapped to it. Therefore, when you have two active UANs, you should deactivate the previous UAN and transfer the EPF account to the new one. As a result, all your previous EPF accounts will be transferred to the new UAN that has the new EPF account.
How to Merge Two UAN Numbers Online?
When you have two UANs, you will have to merge both by deactivating the previous UAN. The following steps will help you merge the two UAN numbers:
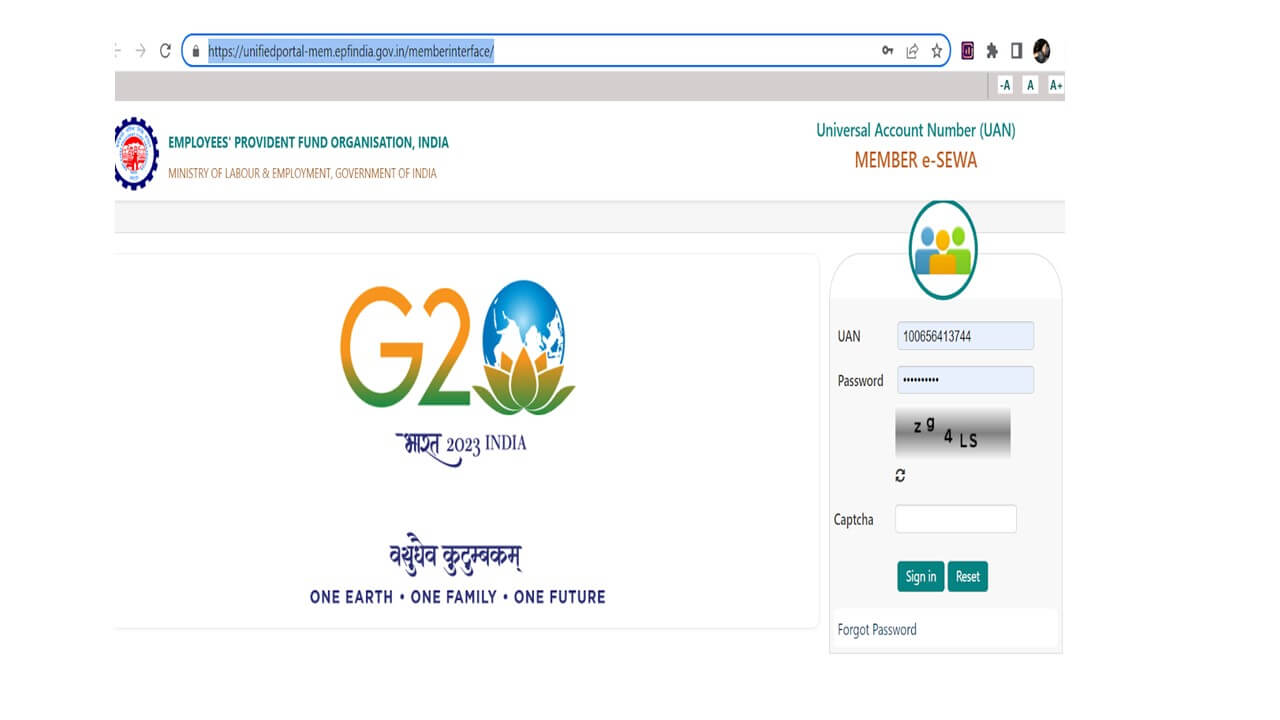
- Visit the Official EPFO website.
- Login using your UAN number and password.
- Next, select the ‘One Member – One EPF Account’ option under the’ Online Service’ tab.
- Verify all your details on the following page.
- Click on ‘Get Details’ to verify your PF details.
- Once you verify the PF details, click on ‘Get OTP’.
- Enter the OTP sent to the registered mobile number, and click on ‘Submit’ to proceed.
- Next, you will have to fill Form 13 with all the necessary details.
- Upon successfully filling in the details, a Tracking ID will be generated for you to track the progress of the transfer.
- Next, you must submit a signed copy of the form to your employer within 10 days.
- Both the employers will verify your details, and upon their approval, your account transfer will be successful.
READ ALSO


Show comments